Vegan steamed rice cheese
| Tags: | Gluten free, Kid friendly, Low budget, Nut free, Quick recipes, Soy free, Vegan cheese and eggs |
|---|---|
| Preparation time: | preparations 10 minutes, cooking 45 minutes, total 55 minutes |
| Makes: | 400 g / 1 pound |
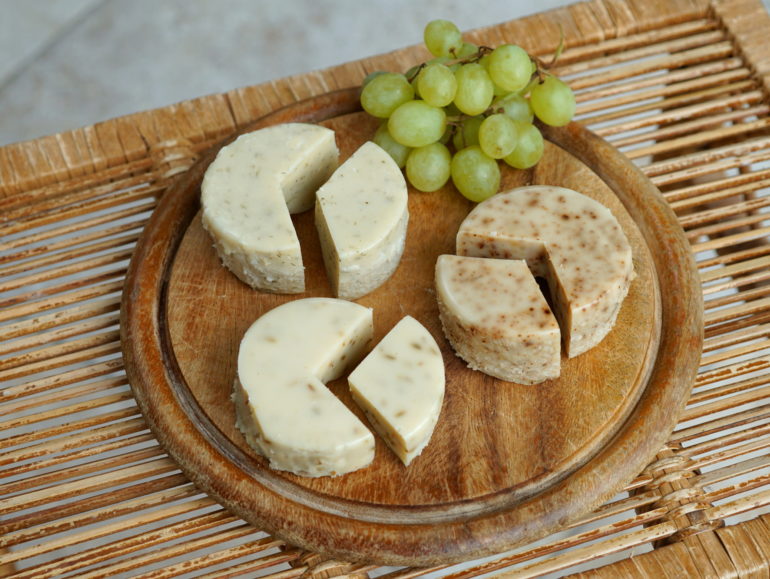
For a long time I've wanted to make a vegan cheese that was similar in texture to Violife (Europe) or Chao (US). I've tried many times with different ingredients and methods and this steamed rice flour based cheese is the closest I've come. It has a lovely firm texture that allows it to be grated and sliced super thin. It's nice to eat cold, but also works well on grilled cheese and pizza, although it doesn't melt quite as well as the store bought variety. It's also soy free, gluten free, nut free, fodmap free and very cheap to make. A real game changer!
This recipe is also posted on my other site, Lowcarb-vegan. See the comments there and the Facebook group Vegan Cheeze - Hits and Misses for troubleshooting and lots of variations.
The idea for this cheese came from an Indonesian dessert called kue lapis, where a mixture of rice flour and coconut milk is steamed to create a sticky cake. I accidentally made a slightly too dry version of it, and David said it would be a good texture for cheese, so I started experimenting!
The flavors are super adaptable. In this recipe I keep it really simple, but you can add as many herbs, spices and flavorings as you want. For instance, cumin or fenugreek seeds are a very nice addition, as is miso. You can also try using lactic acid instead of vinegar and add commercially available vegan cheese flavors.
Ingredients
- 180 ml (3/4 cup) water (plus extra for steaming)
- 110 gram (+/- 1 cup spooned and leveled) white rice flour (NOT glutenous rice flour)
- 75 gram (1/3 cup) melted neutral tasting coconut oil
- 1 1/2 teaspoon salt
- 1 1/2 teaspoon mild French mustard
- 1 teaspoon lemon juice
- 2 teaspoons white vinegar (or more lemon juice)
- 1 tablespoon nutritional yeast
- a pinch of turmeric (optional, for yellow cheese)
Instructions
Bring water to a boil in your steamer pot
Put all the ingredients in the jar of your blender or foodprocessor, and blend until it forma a completely smooth milky mixture, without lumps or visible oil droplets.
Pour the cheese mixture into a glass or ceramic mold (I used a cereal bowl). Choose a mold that is plenty high enough to accommodate the liquid as it will bubble up during the steaming.
Keep the water at a rolling boil and steam the cheese for about 45 minutes. After the steaming, the cheese will still be quite soft. Don't worry, it will firm up once it cools. If a thin layer of water dripped onto the cheese from the pot's lid, drain this off carefully. Let the cheese cool to room temperature and then cover it and put it into the fridge overnight to firm up.
Once it is firm, you can release it from the mold and store it in a lidded container for up to two weeks. The cheese tastes best if you leave it to firm and develop flavor for a day or two before eating, but I understand if you can't wait that long ;)
2 Reacties
Write a comment