Homemade oat protein bars
| Tags: | Gluten free, High protein, Kid friendly, Nut free, Soy free |
|---|---|
| Preparation time: | preparations 25 minutes, cooking 20 minutes, total 35 minutes |
| Makes: | 15 bars |
David likes to have an energy bar to take with him for long office days, to eat as an afternoon snack so he doesn't come home completely starved. We also like to bring some on hiking and cycling trips. Protein bars can be quite pricey, so making your own can save a lot of money. You can make a baking sheet full of these bars for the price of just 2 or 3 store bought bars.
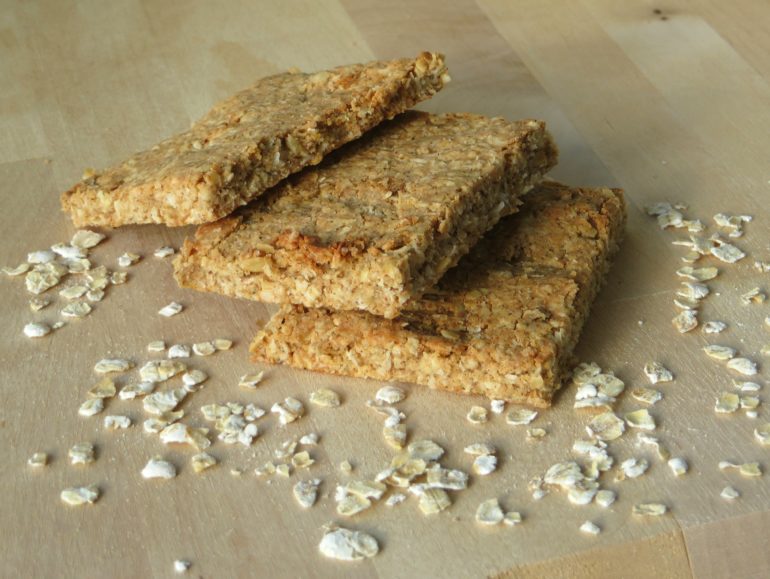
The bars in this recipe are comparable in taste and nutritional value to Trek's protein flapjacks. They contain about 10 grams of protein per 50 gram bar. The main ingredients are oatmeal and protein powder, making them tasty and filling. You can make them in any flavor you like. Here I've kept it simple with vanilla and cinnamon, but you can add whatever seasonings you want such as pumpkin spice, ginger, lemon extract, cocoa etc. If you prefer a different sweetener than sugar, you can do that too.
Ingredients
- 2 cups (200 g) oatmeal
- 1 cup (80 g) protein powder (I prefer soy)
- 1/2 cup (40 g) grated coconut (or more oatmeal)
- 1/2 cup (100 g) sugar
- 2/3 cup (160 ml) non-dairy milk
- 1/3 cup (80 ml) neutral oil (I like to use canola)
- 1 teaspoon vanilla extract
- 1 teaspoon cinnamon
Preparation
Preheat the oven to 200 degrees. In a large bowl, mix the oatmeal with the protein powder, coconut and sugar until well combined. Add the milk, oil and seasonings to form a cohesive dough.
Line a rectangular baking tray with baking paper. Dump the dough into the tray and shape it with your fingers or the back of a spoon into a nice flat flapjack, little over 1/2 cm or 1/4 inch thick. Cut the soft flapjack with a knife so that you can easily break it into bars after baking.
Bake the bars for about 20 minutes until the top starts to turn golden brown. Remove them from the oven and let them cool completely. Remove from the baking tray and store in an airtight container. I usually keep them in the freezer so they last longer and I am not tempted to eat them all...
A Dutch translation of this recipe can be found here.
Write a comment